

This second installment covers an absolutely breathtaking and challenging section that leads you through the otherworldly Pale di San Martino. The crowded honeypots of the northern section are behind you, welcome to the ‘insider’s Dolomites’.

Photo Credit: Nick Haine
Here are some notes from the second part of a trip I organised and undertook with friends in July 2025. I used the Alta Via 2 – Trekking in the Dolomites guidebook (5th edition 2022), written by Gillian Price, published by Cicerone to plan and execute the trip and also took the relevant hardcopy Tabacco maps. Unless otherwise stated we followed the official AV2 route as described in the book and marked on the maps. For each stage I have noted the CAI (Club Alpino Italiano) hiking trail grade for the most technical part of that day (See the CAI Path Grades below (my translation from Italian)).
Please note the Dolomites Alta Via 2 is not merely a long distance hiking trail. Over half the stages pass through areas described by the Club Alpino Italiano (CAI) as rough and / or treacherous terrain only suitable for expert hikers. Don’t expect to be able to detour around these difficulties once you have started the stage. In addition to the usual multiday trekking equipment you will each need to take a harness, Via Ferrata kit, helmet, gloves and microspikes (or crampons and an ice axe if there is late lying snow). You need the skills to use this equipment, to move through steep, loose, unprotected and potentially snowy terrain with confidence and to make appropriate decisions depending on the weather and yourself / your group. Be aware that sometimes you will need to cross 30-45 degree slopes above sheer cliffs on narrow paths or scree and there will be no fixed cables for protection, a slip could easily be fatal.
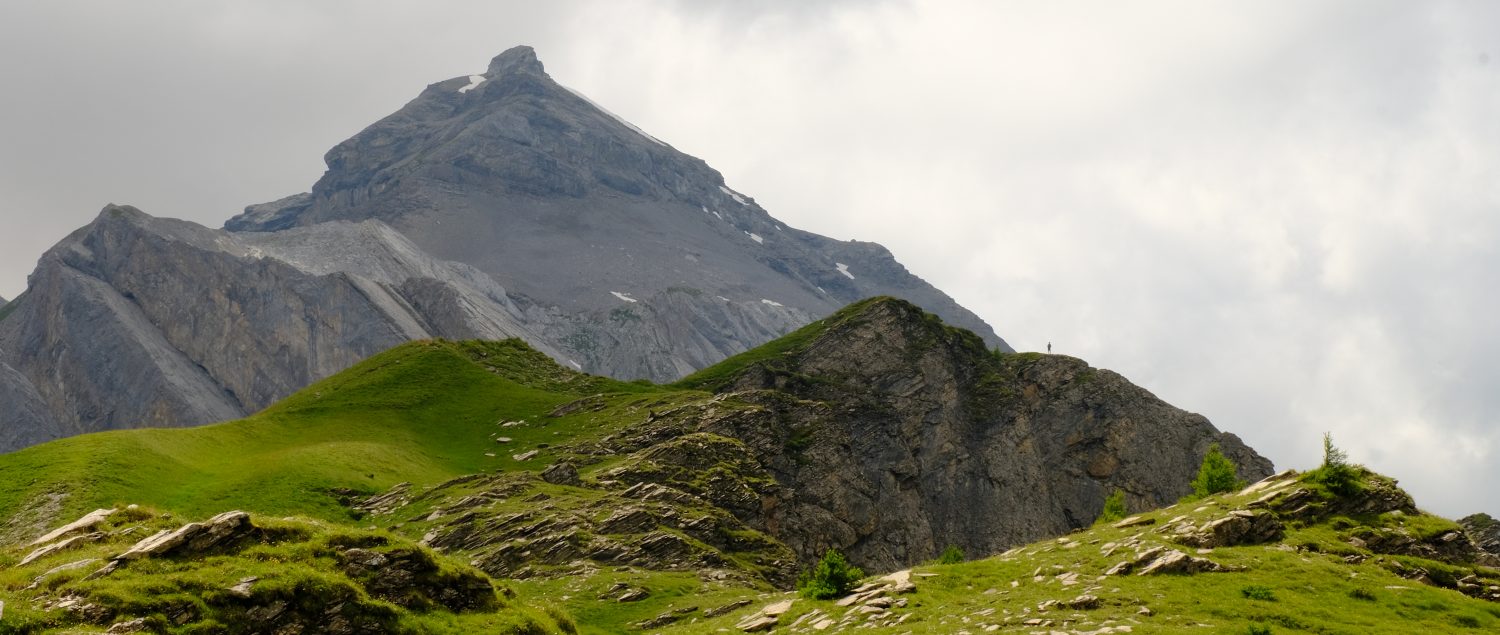
Day 6: Passo San Pellegrino to Rifugio Mulaz (13km, 1040m ascent, 380m descent) Maximum CAI Path Grade EEA
A long but varied day. We chose not to use the cable car at the start, my thinking being that tired knees would be more appreciative of 300m of ascent to Forcella di Pradazzo rather than descent from the cable car. An early lunch at Rifugio Passo Valles set us up for a beautiful walk up into the stunning Pale di San Martino and Rifugio Mulaz.

Photo credit: Nick Haine
Narrow paths led us along ridgelines and round scree filled valleys. There were short section of cables, unprotected scree traverses and potential for rockfall from above, justifying the EEA grade but nothing too sketchy.
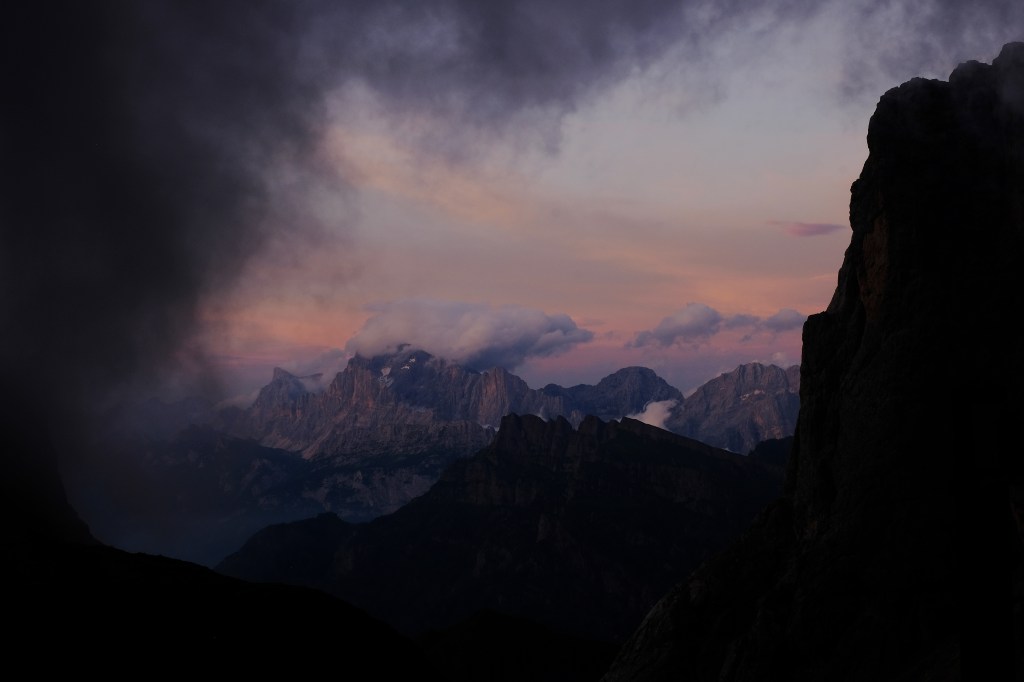
Photo Credit: Sally Woodbridge
Rifugio Mulaz was my favourite hut. Fantastic guardians, a tasty plentiful dinner (with a pudding!), spectacular sunset and sunrise, flocks of snow bunting and alpine choughs, just perfect.
Escape Routes
The best point to leave this route would be at Passo Valles.
Day 7: Rifugio Mulaz to Rifugio Rosetta (7.5km, 750m ascent, 740m descent) Maximum CAI Path Grade EEA
Sketchy starts here. This is a full-on day, technically, mentally and physically. Solid mountain experience is needed to pick the safest path through rough terrain. The possibility of ending up on loose scree on convex slopes above immense drops or scrambling off route into dangerous territory is huge despite good path markings. There are prolonged sections without cables, or anywhere to fix cables where a simple trip would be fatal. Once you begin the cabled ascent of Passo delle Farangole, less than 1km into the stage, you are committed, there is no easy way backwards or forwards
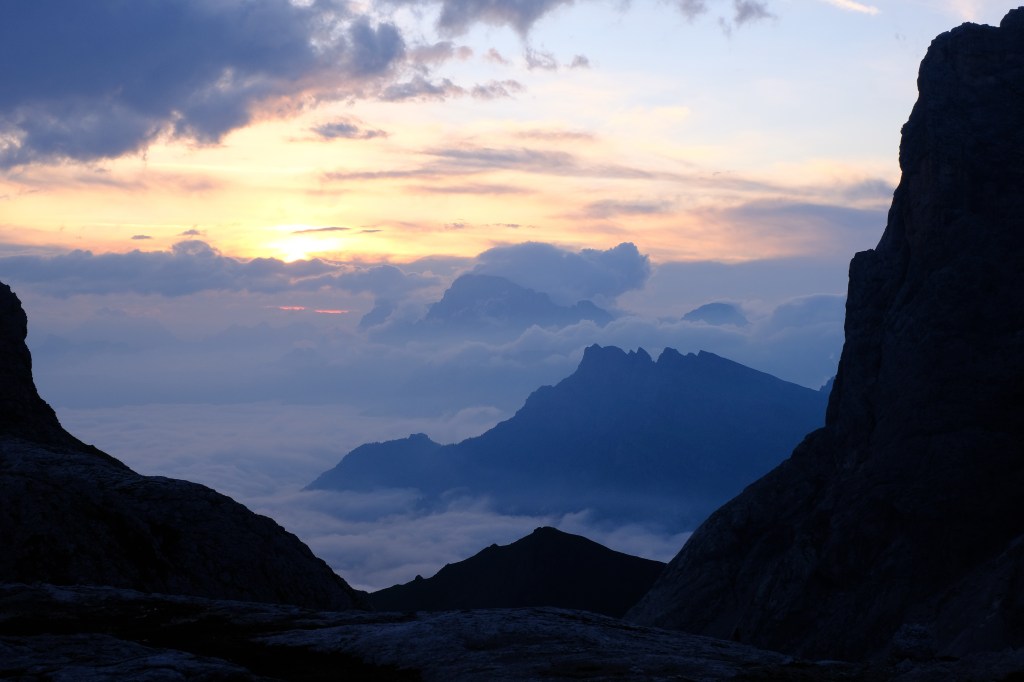
Photo Credit: Sally Woodbridge
Great care needs to be taken to follow the marked rocks and stay on the correct ascent line up to the start of the aided section to Passo delle Farangole as the loose ground drops away very steeply on convex slopes.

Photo Credit: Nick Haine
When we were there the first section of the aided climb up to Passo delle Farangole has been damaged and was no longer usable. The alternative to reach the undamaged cables was to either scramble up a very steep, loose, mobile section of scree next to the rock rib for approximately 20 metres or to climb out onto the rib. Climbing out onto the rib involves easy but unprotectable solo climbing (British Grade Diff?) above exposed terrain where a fall would probably be fatal.

Photo Credit: Nick Haine
The descent ladders and cables from Passo delle Farangole have not been affected by winter / rockfall damage, but there is danger from rocks being dislodged by people above.

Photo Credit: Nick Haine
It would be easy to imagine that the main difficulties of the stage are behind you but the most challenging section is to come. The traverse above the Val delle Comelle is mostly unprotected (and unprotectable), a simple slip would be fatal.

Photo Credit: Nick Haine
A well maintained, well marked narrow path runs very close to the sheer 400m drop into the valley below for a majority of this 3km section. It also passes through a number of easy rocky traverses and steep scree gullies both with no protection. The final narrow chimney at the base of Valle delle Galline will need to be climbed on it’s left hand side unless you are slim.
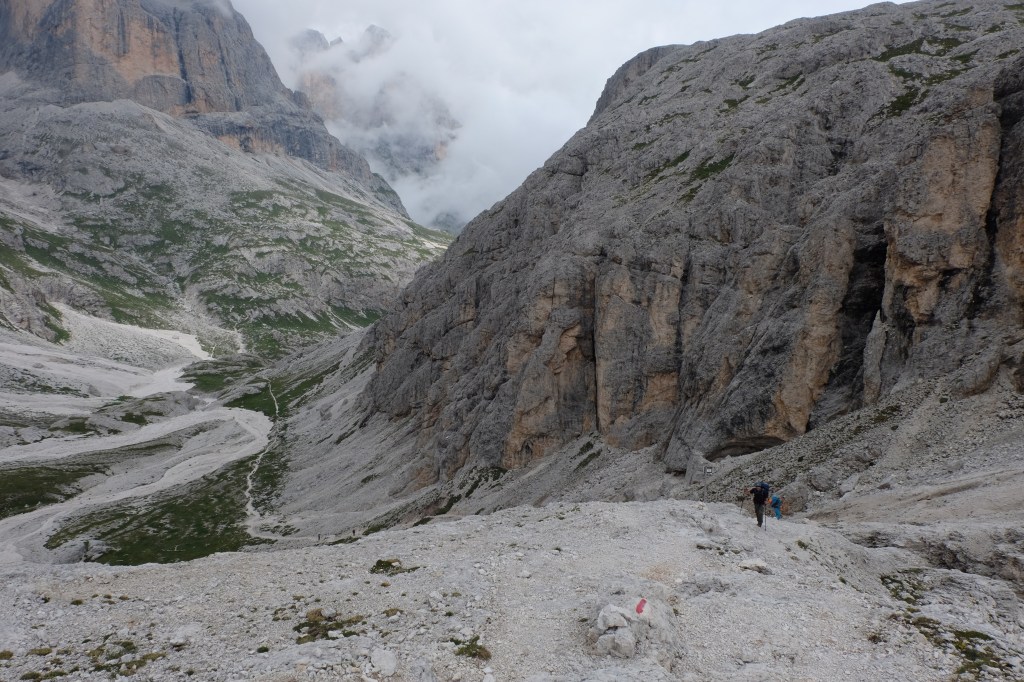
Photo Credit: Nick Haine
Escape Routes
None. After you have committed to ascending the aided climb up to Passo delle Farangole you are in serious mountain terrain.
If you decide not to do this stage Gillian suggests in the Alta Via 2 guidebook taking Path 710 from Rifugio Mulaz towards Passo Rolle.
Day 8: Rest Day
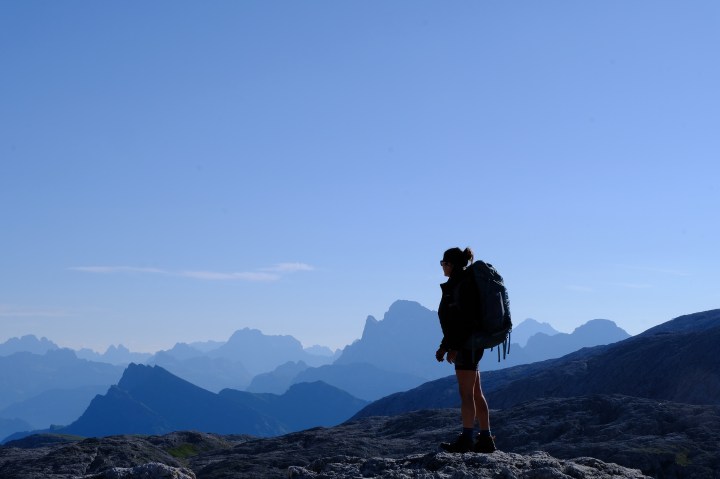
Photo Credit: Sally Woodbridge
Rifugio Rosetta is a large comfortable hut. The top lift station is a short, well marked walk away. The alpine flowers near the rifugio were fabulous.
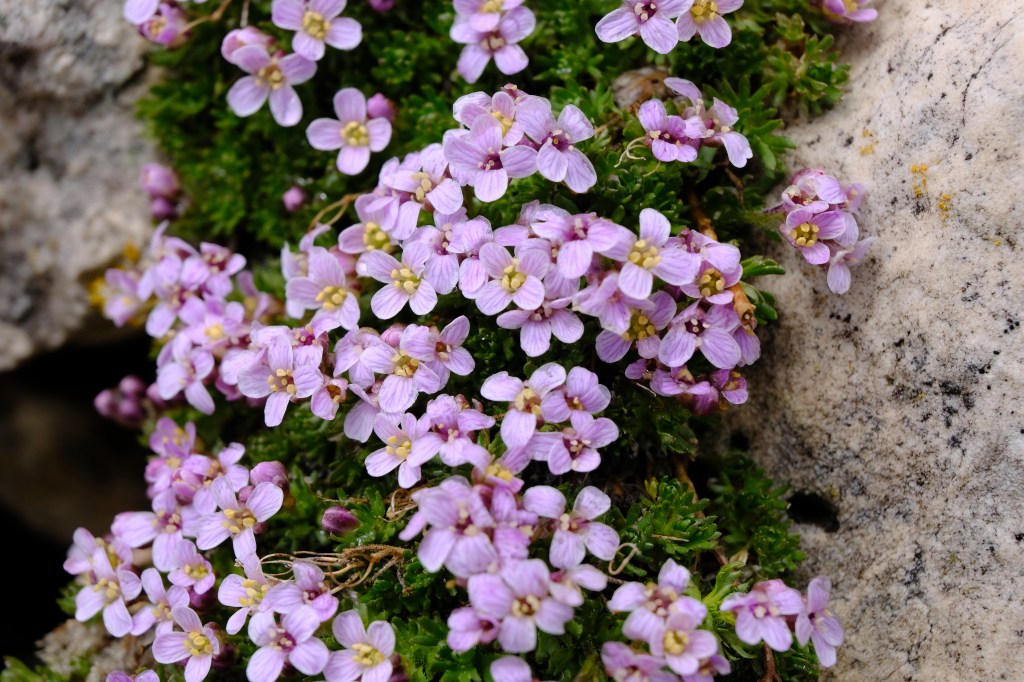
Photo Credit: Sally Woodbridge
Day 9: Rifugio Rosetta to Rifugio Pradidali (6km, 600m ascent, 340m descent) Maximum CAI Path Grade EEA
This is another serious mountain day requiring via ferrata equipment. The guidebook stage runs all the way to Rifugio Treviso but I split it into two and added in a night at Rifugio Pradidali because of the huge final descent to Rifugio Treviso.

Photo Credit: Nick Haine
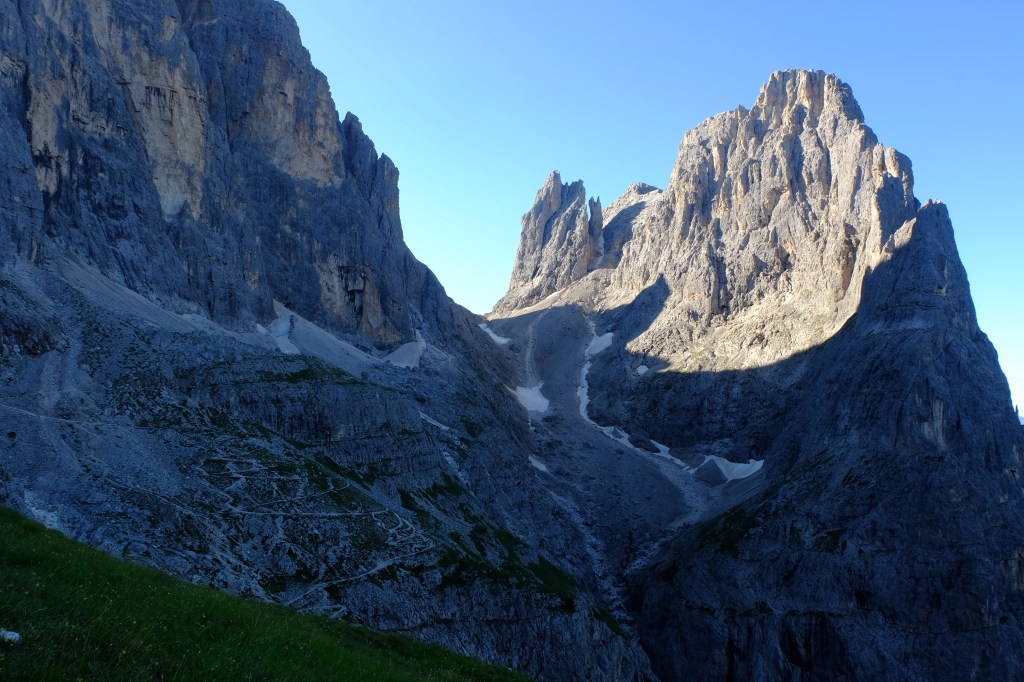
Photo Credit: Nick Haine

Photo Credit: Nick Haine
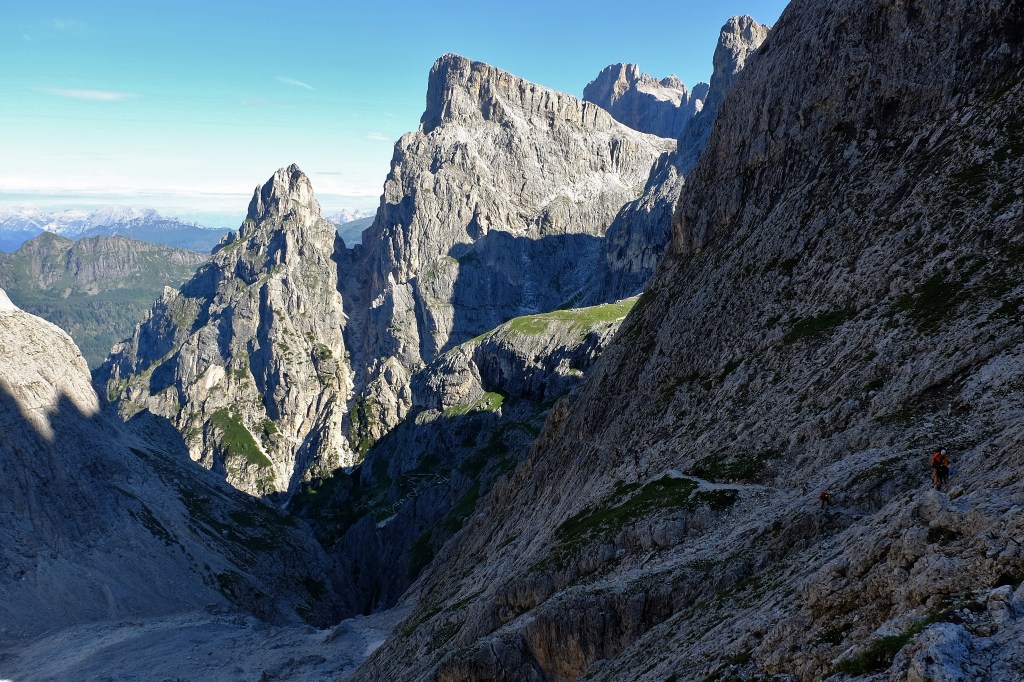
Photo Credit: Nick Haine
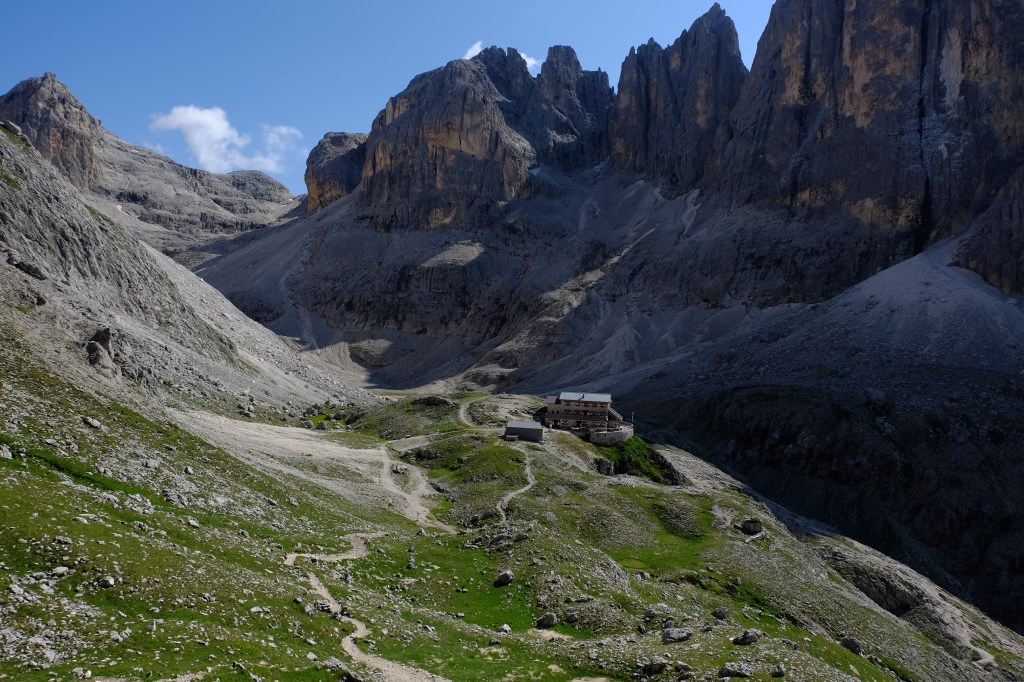
Photo Credit: Nick Haine
Rifugio Pradidali has very poor mobile signal so if friends want to check if you’ve arrived OK it would be best to telephone the hut.
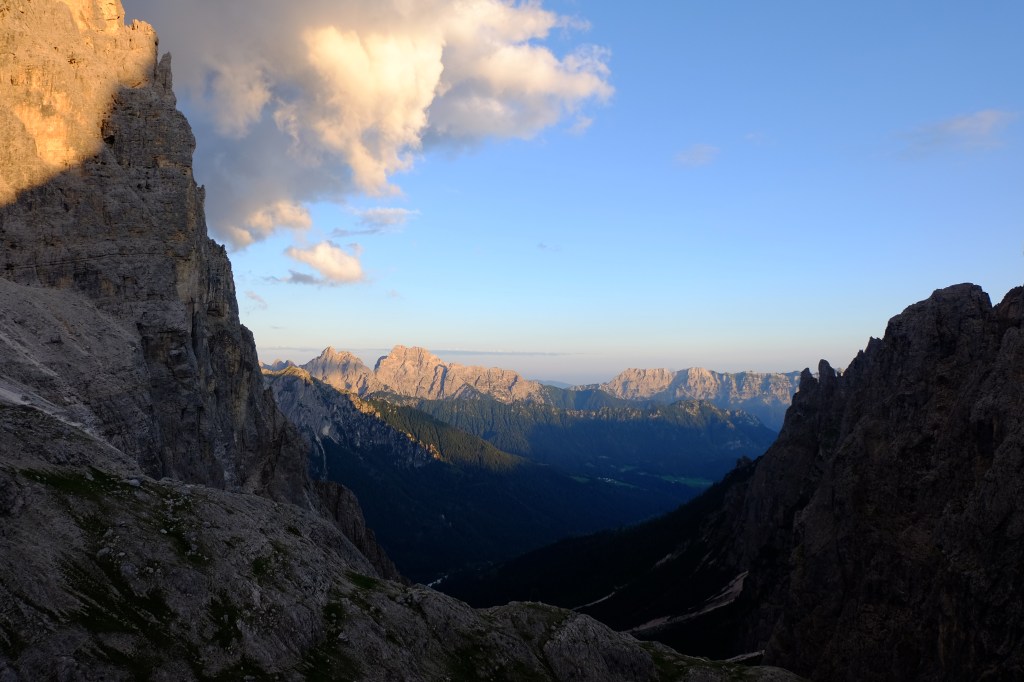
Photo Credit: Nick Haine
Escape Routes
The Palaronda Trek https://www.visittrentino.info/en/guide/tour/dolomiti-palaronda-trek_tour_20752311#dmdtab=oax-tab7 links Rifugio Rosetta, Rifugio Pradidali and Rifugio Treviso with EE Grade paths (I’ve not walked these to check them). However in bad weather or poor visibility the only viable escape route from Rifugio Rosetta would be to descend on the Rosetta cable car to San Martino di Castrozza if it is running.
Day 10: Rifugio Pradidali to Rifugio Treviso (7km, 190m ascent, 1400m descent) Maximum CAI Path Grade EEA
Another day in the fantastic altopiano with great views, technical sections and a monster descent.

Photo Credit: Nick Haine
Photo Credit: Nick Haine
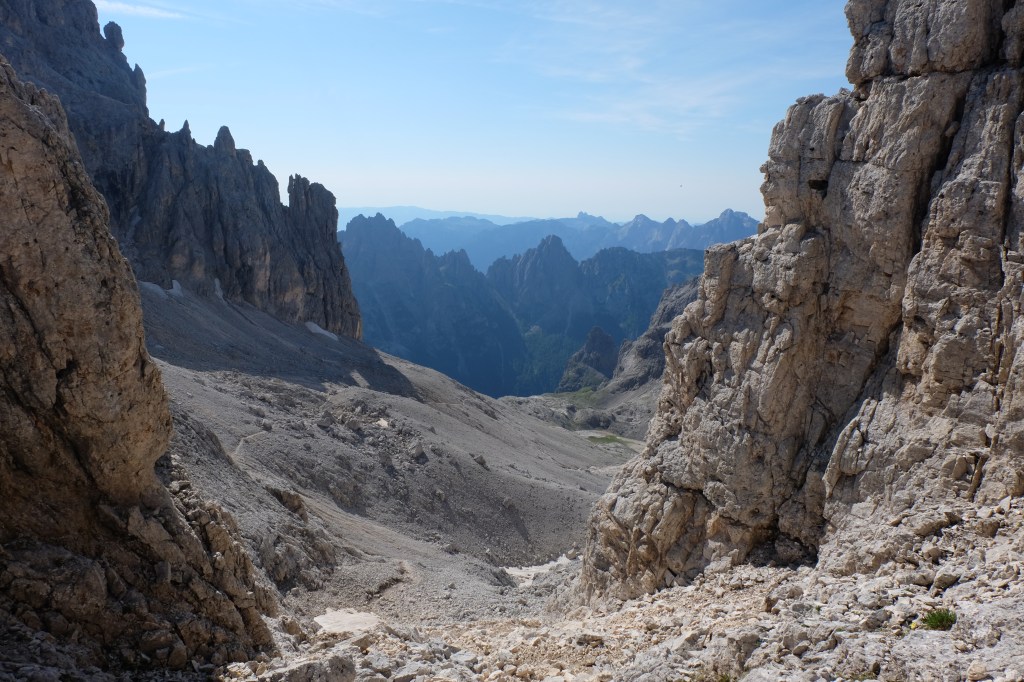
Photo Credit: Nick Haine
The huge descent continues in earnest beyond Bivacco Minazio including steep loose scree and unprotected scrambling on rock.
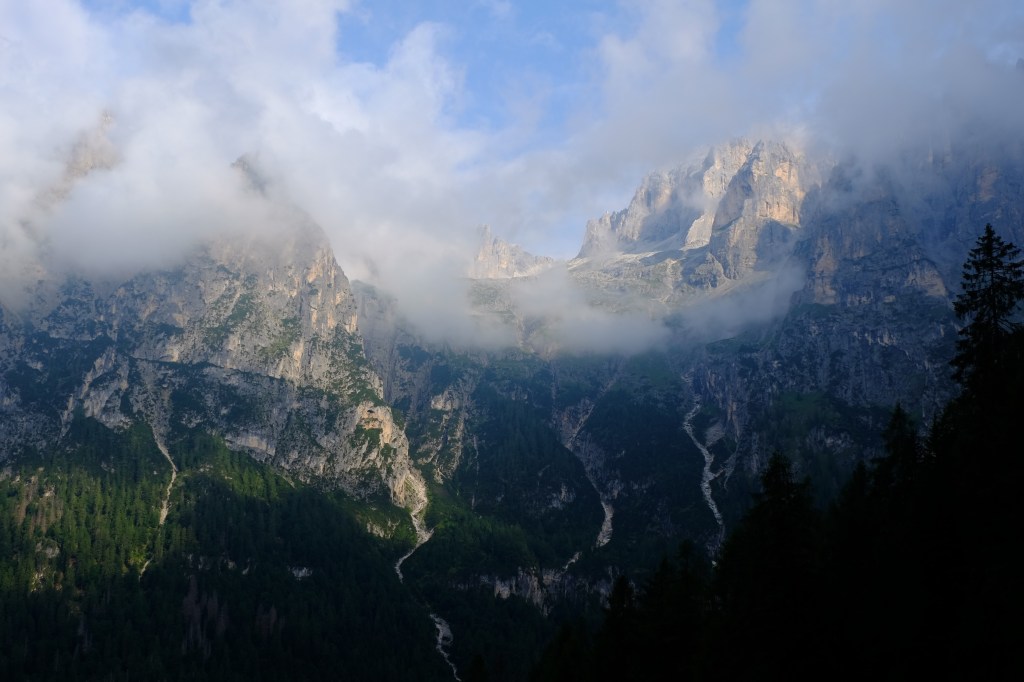
Photo Credit: Nick Haine
Escape Routes
See the Palaronda Trek suggested for the previous day.
Look out for the next installment: Dolomites Alta Via 2: Part 3 – Rifugio Treviso to Passo Croce D’Aune 16th – 19th July 2025
CAI (Club Alpino Italiano) Path Grades
T (tourist) Marked on Tabacco maps with an unbroken red line
Small roads, mule tracks, or easy paths, with clearly marked routes that do not pose any uncertainties or orientation problems. They generally take place below 2,000 meters and usually provide access to mountain pastures or refuges. They require some knowledge of the mountain environment and physical preparation for walking.
E (Hiking) Marked on Tabacco maps with red dashes
These almost always take place on trails or paths over varied terrain (pastures, rough ground, scree), and are usually marked. There may be short, flat or slightly sloping sections of residual snow, where, in the event of a fall, a slide can be stopped quickly and safely. They sometimes cross open, pathless terrain, but are not technical, and always have adequate markings. They may cross steep slopes; exposed sections are generally protected with barriers or cables. They may include a non-exposed rock passage, or short, non-strenuous unchallenging sections with the use of fixed equipment (e.g. ladders, rungs, cables), which, however, do not require the use of specific equipment (harness, carabiners, etc.). They require a good sense of direction, as well as experience and knowledge of mountain terrain, walking experience, and appropriate footwear and equipment.
EE (Trails for Expert Hikers) Marked on Tabacco maps with red dots
These are trails that are usually marked but require the ability to navigate in technical terrain. Trails or tracks can be on rough and / or treacherous terrain (steep and/or slippery grass slopes, or mixed rock and grass, or rock and scree). There is varied terrain at relatively high altitudes (above 2000m) e.g. scree slopes, short, gentle snowfields, open slopes without landmarks, etc. There are rocky sections with slight technical difficulties, i.e. trails with fixed equipment (e.g. ladders, rungs, cables) or less demanding via ferratas. Trails on glaciers are excluded, even if they are flat and/or appear crevasse-free (because crossing them would require the use of a rope and ice axe and knowledge of the relevant belaying techniques). Requirements are general mountain experience and a good knowledge of the Alpine environment; sure-footedness and a head for heights; adequate equipment, gear, and physical preparation.
EEA (Trails for Expert Hikers with Equipment) Marked on Tabacco maps with red crosses
These are trails with fixed equipment (e.g. ladders, rungs, cables) or via ferratas requiring the use of self-belay devices (harness, shock absorber, carabiners, lanyards) and personal protective equipment (helmet, gloves).
https://www.cairovigo.it/classificazione-sentieri-cai/
Please remember that outdoor activities like walking come with inherent risks. The author has endeavoured to make the information as accurate as possible at the time of writing but the decision to undertake the walk is entirely at your own risk. No responsibility can be accepted for any kind of physical injury, loss or damage to you or your property.
If you enjoyed this please enter your email address below to follow this blog and receive notifications of new posts by email.
