

Here are some notes from trip I organised and undertook with friends in July 2025. I used the Alta Via 2 – Trekking in the Dolomites guidebook (5th edition 2022), written by Gillian Price, published by Cicerone to plan and execute the trip and also took the relevant hardcopy Tabacco maps. Unless otherwise stated we followed the official AV2 route as described in the book and marked on the maps. For each stage I have noted the CAI (Club Alpino Italiano) hiking trail grade for the most technical part of that day (See the CAI Path Grades below (my translation from Italian)).
Final ascent to Rifugio Boè (2873m) 9th July 2025
Photo credit: Nick Haine
Please note the Dolomites Alta Via 2 is not merely a long distance hiking trail. Over half the stages pass through areas described by the Club Alpino Italiano (CAI) as rough and / or treacherous terrain only suitable for expert hikers. Don’t expect to be able to detour around these difficulties once you have started the stage. In addition to the usual multiday trekking equipment you will each need to take a harness, Via Ferrata kit, helmet, gloves and microspikes (or crampons and an ice axe if there is late lying snow). You need the skills to use this equipment, to move through steep, loose, unprotected and potentially snowy terrain with confidence and to make appropriate decisions depending on the weather and yourself / your group. Be aware that sometimes you will need to cross 30-45 degree slopes above sheer cliffs on narrow paths or scree and there will be no fixed cables for protection, a slip could easily be fatal.
Day 1: Ortisei to Rifugio Genova (14km, 650m ascent, 450m descent) Maximum CAI Path Grade E
I planned the trek to fit into 2 weeks including travelling out and back from the UK, I also scheduled in a rest day about halfway through, partly to rest but also to provide an extra day if we were delayed by weather en route. Rifugio Plose was also closed in 2025 for refurbishment so I decided to begin the walk in Ortisei, a chic mountain town reachable by public transport from Verona and a scenic days walk from Rifugio Genova.
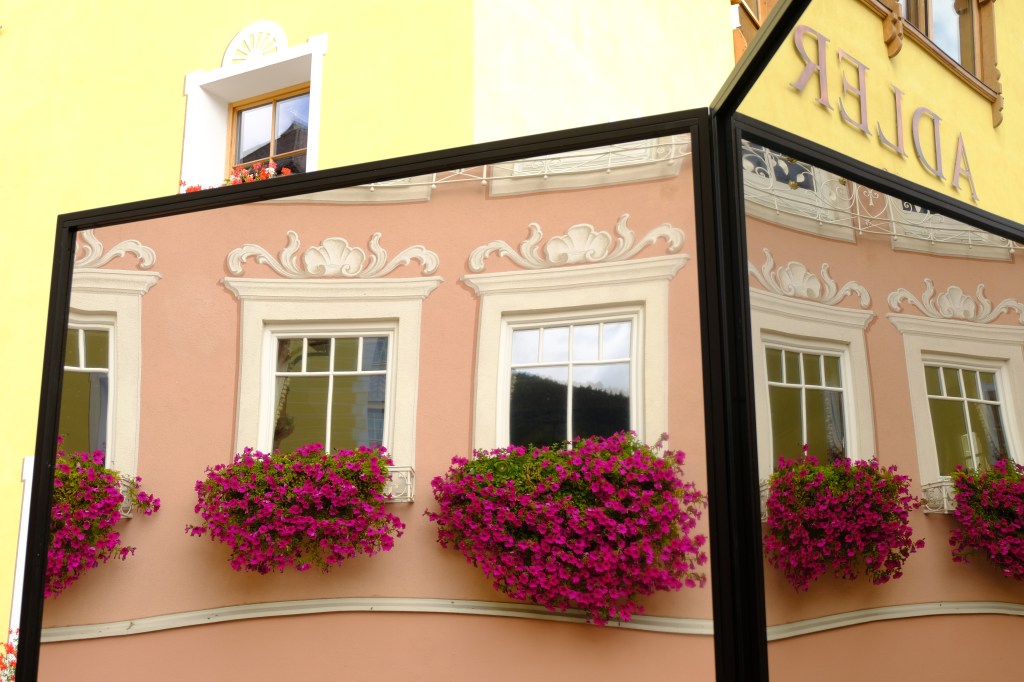
Photo credit: Sally Woodbridge
We began with a ride up on the Resciesa funicular. Shortly above the top funicular station path 35 branches off to the right towards the Passo di Brogles and Rifugio Malga Brogles becoming an easy broad track. This rifugio is a lovely spot for morning coffee.
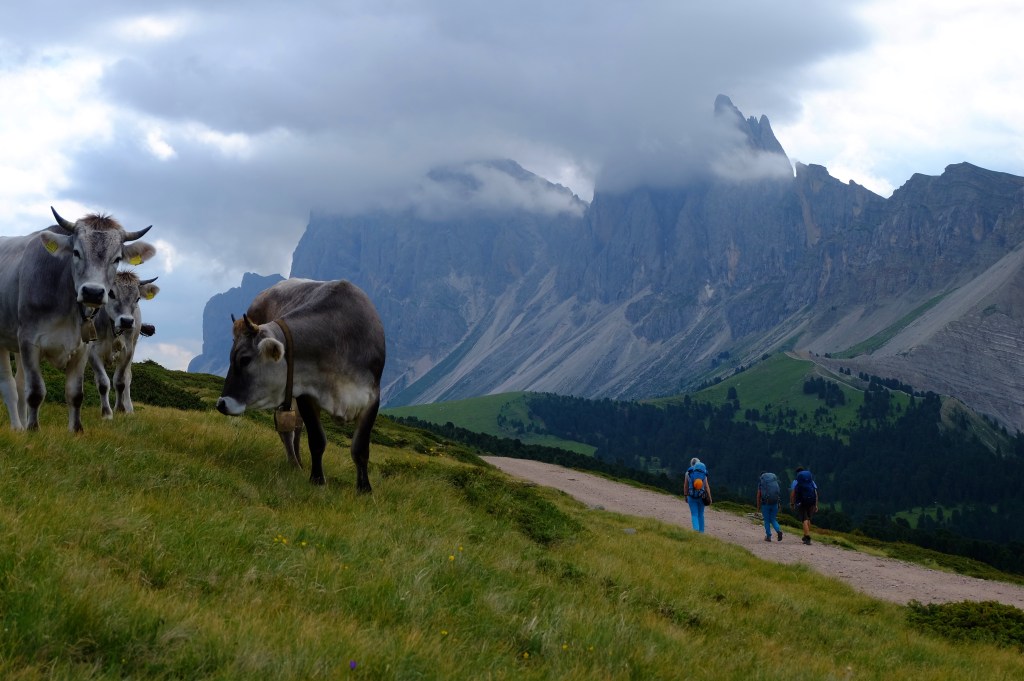
Photo credit: Nick Haine
From Rifugio Brogles path 35 is known as the Via della Odle / Adolf Munkel Weg and passes beneath the jutting peaks of Le Odle. A thunderstorm hit while we were in the valley woodland at lunchtime. As it moved away we walked on and had a coffee at Gampenalm then finally strode uphill to reach Rifugio Genova.
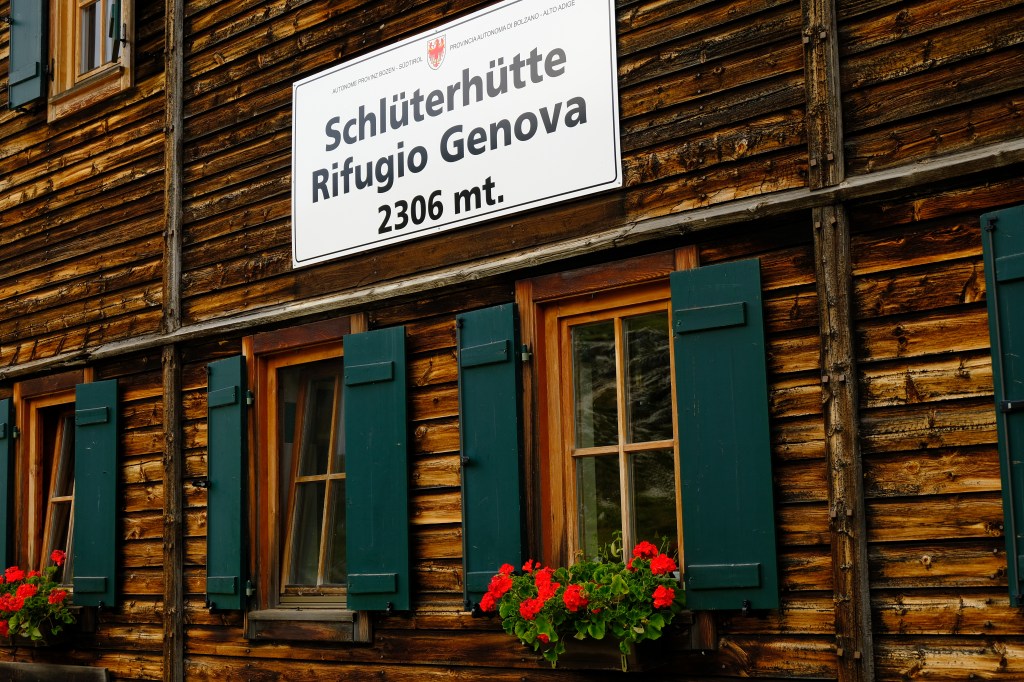
Photo credit: Sally Woodbridge
Escape Routes
After Rifugio Malga Brogles: Descend northwards to Val di Funes. Infrequent buses run up to Zanzeralm from the Isarco Valley. (Maximum CAI Grade E)
Day 2: Rifugio Genova to Rifugio Puez (12km, 840m ascent, 660m descent) Maximum CAI Path Grade EEA
Seeing the morning mist hanging in the valleys shortly after leaving Rifugio Genova was a lovely legacy of the thunderstorm.

Photo Credit: Nick Haine
A beautifully maintained grass-lined path led to the Kreuzjoch but soon afterwards we hit the screes and zig-zagged up to and down from the Forcella della Roa.

Photo Credit: Sally Woodbridge
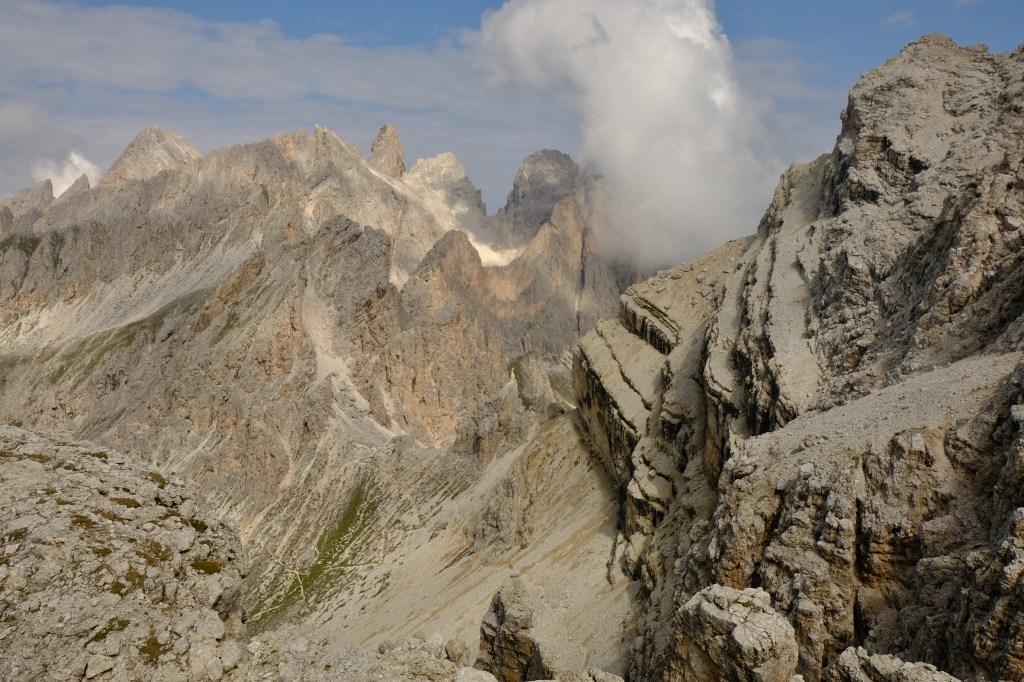
Photo Credit: Sally Woodbridge
We didn’t do the optional Via Ferrata up to Forcella Nives, it was crawling with people already and none of us fancied having loose rock kicked down on us so we stayed on the lower path and then ascended the scree to Forcella di Sieles. Turning left at the top of the pass there’s a short unavoidable cabled section that competent mountain goers would be happy to handrail, followed by short sections of narrow but well maintained paths running alongside large drops. If this is not 100% within your comfort zone, the Alta Via 2 is not for you, this is as easy as the Grade EEA gets.
The last stretch undulates towards Rifugio Puez.

Photo Credit: Sally Woodbridge
Escape Routes
A: Before Forcella della Roa. Descend westwards on the Jeep track to Gampenalm and then to Zanzeralm where there are (infrequent) buses back to the Isarco valley (Maximum CAI Grade E)
B: After Forcella della Roa but before Forcella di Sielles. Follow path 2-3 Westwards out of Forces de Sieles then head SW on the same path to Rifugio Firenze (accommodation available). To continue to Val Gardena follow the Jeep track (Path 1) to the outskirts of St. Christina. (Maximum CAI Grade E)
Day 3: Rifugio Puez to Rifugio Pisciadù (10km, 900m ascent, 800m descent) Maximum CAI Path Grade EEA
We woke to 1.5cm of snow on the picnic tables out the front of the hut, and a selection of microspikes for purchase on the rifugio bar. There were a couple of points early on in the walk where the path came closeish to the cliff edge and it was a bit slippery underfoot, but was generally OK.

Photo Credit: Nick Haine
The path between Rifugio Puez and Jimmy’s Hut above Passo Gardena rises and falls through the most incredible altipiano scenery. Lunch at Jimmy’s hut was delicious.

Photo Credit: Sally Woodbridge
The sting in the tail of the day is the ascent of Val Setus, with steep scree and an unavoidable section of fixed equipment (cables, ladders, rungs etc) (CAI Grade EEA). This final aided ascent section up Val Setus has been re-routed with new cables since I was last there in 2019 and now heads up more exposed rock with less chance of rockfall than previously. If you’re not tall it can be a long stretch to clip onto some of the cables whilst your feet are on the good footholds. There is now a separate adjacent cabled descent route for those coming down from the plateau, but be aware that people may still mistakenly descend on the ascent route. We did this bit in wind and hail. Nice.
Escape routes
A: From Rifugio Puez head south on Path 14 it descends steeply at first and then traverses round to drop into the Vallunga. Follow the path in the valley, generally southwestwards, to Selva. (Maximum CAI Grade E)
B: From Jimmy’s Hut either descend to Passo Gardena (regular buses) or stay high and head west on Path 12 to the top station of the Dantercepies lift and take a gondola down to Selva. (Maximum CAI Grade E)
A descent down the Val de Chedul is not recommended as there is a very steep, slippery, tree-rooty final section.
Day 4: Rifugio Pisciadù to Rifugio Castiglioni (16km, 690m ascent, 1230m descent (approximately 630m descent if the cablecar is used)) Maximum CAI Path Grade EEA
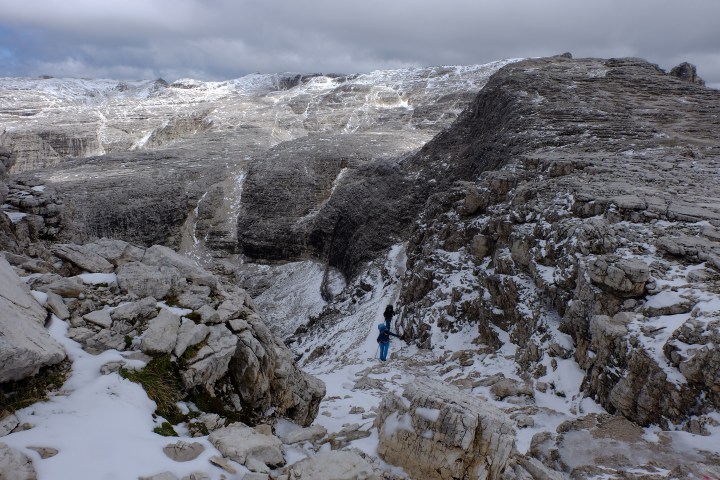
A long day. The AV2 path from the Rifugio Pisciadu is in the shade in the morning. The snow on the narrow path winding above large drops was compacted and slippery; the rocks had black ice on them. Welcome to summer in the Dolomites. The most exposed sections on this slippery path were just before the cables started, and just after they ended. On one protected section you undertake a short, exposed, (and for us iced-up) traverse using the snub end of metal bars as footholds, if not clipped in a fall would most likely be fatal.

Photo Credit: Nick Haine
The slithery conditions continued across the plateau. Even in poor weather Rifugio Boe onwards can be very busy with people moving in both directions, some even barging past you on the fixed cables used to protect some easy scrambling sections between the rifugio, Forcella Pordoi and the cablecar top station.
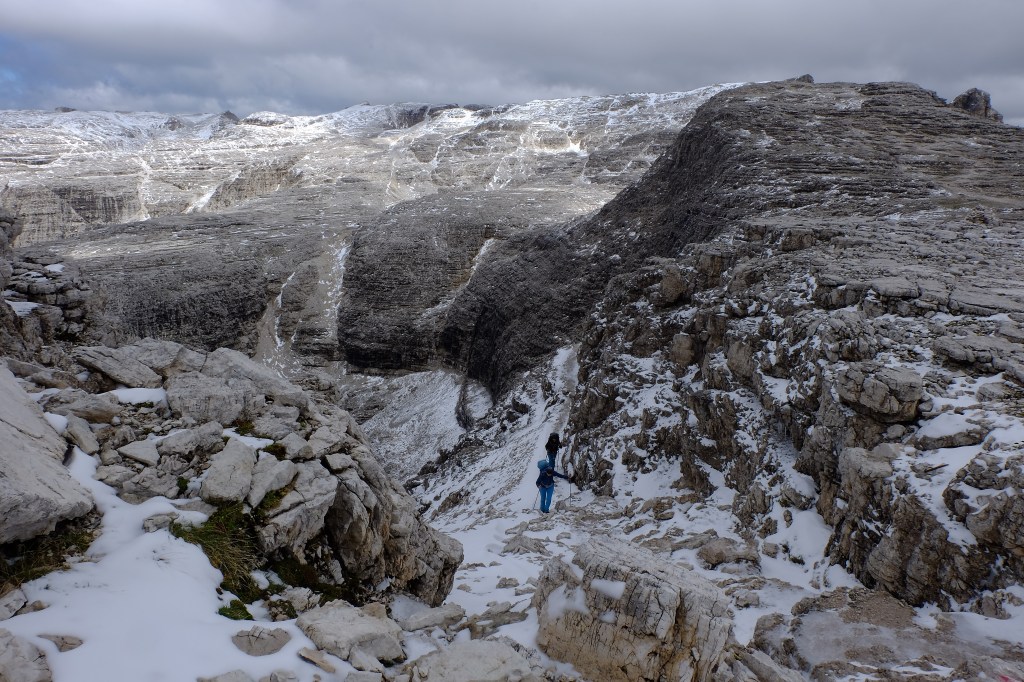
Photo Credit: Nick Haine
The scree descent from Forcella Pordoi begins very steeply, is significantly eroded and had a tricky looking snow patch at the top of it so we took the cable-car down to Passo Pordoi.
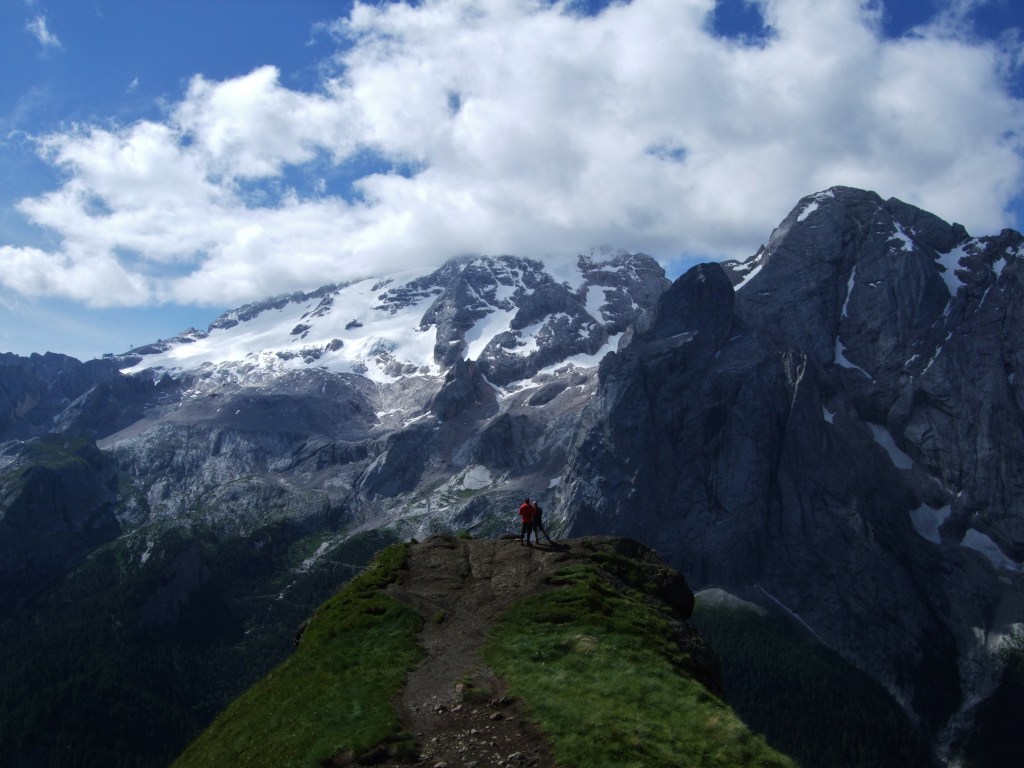
Photo Credit: Sally Woodbridge
From Passo Pordoi there’s still half the mileage yet to go, much less ascent but a fairly steep bit of descent through woodland at the very end. The maximum CAI path grade for the final section from Passo Pordoi to Rifugio Catiglioni is E.
Escape Routes
A: In 2019 from Rifugio Pisciadu I used Path 676 beginning on the western side of Lech de Pisciadu, turned south east at Sela de Pisciadu (2908m) onto Path 649 and then joined up with the AV2 passing over the top of Antersass to Rifugio Boe. I don’t know the current state of the path or whether it would be a better option in snow etc.
Day 5: Malga Ciapela to Passo San Pellegrino (15km, 1110m ascent, 570m descent) Maximum CAI Path Grade E
The full stage 6 in the Cicerone guide is a very long day and begins by walking along a road. From the initial planning stage I elected to make use of the bus from Rifugio Castiglioni to Malga Ciapela. You could choose either the free hotel shuttle bus that leaves straight after breakfast or a scheduled bus that leaves a little later and picks up right outside the rifugio. This was free with the Val di Fassa E-Guest card that came with the accommodation booking.
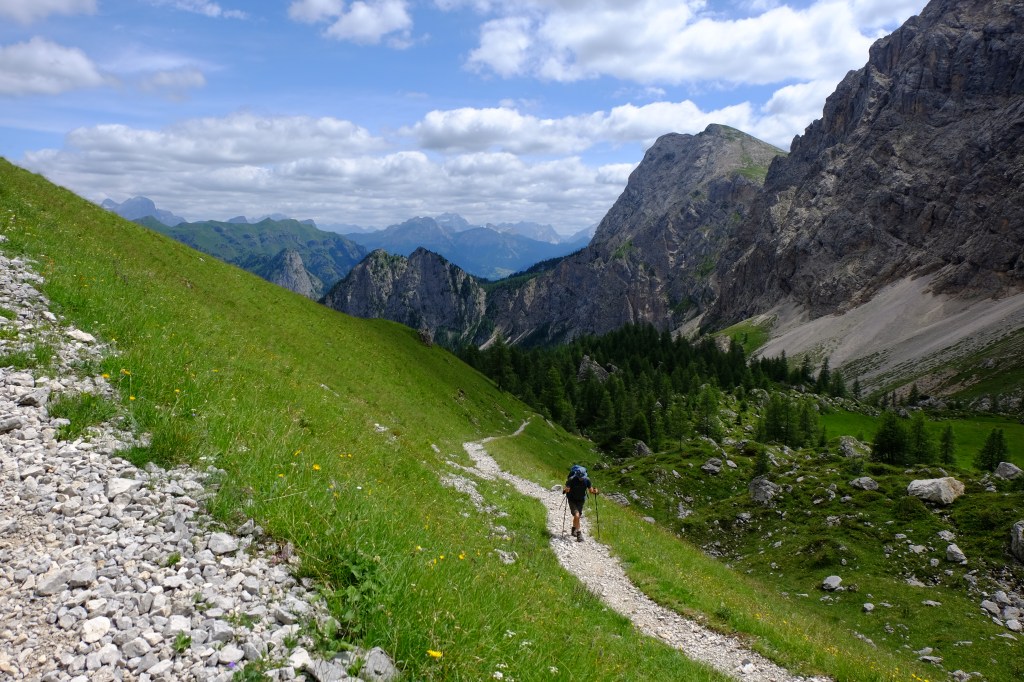
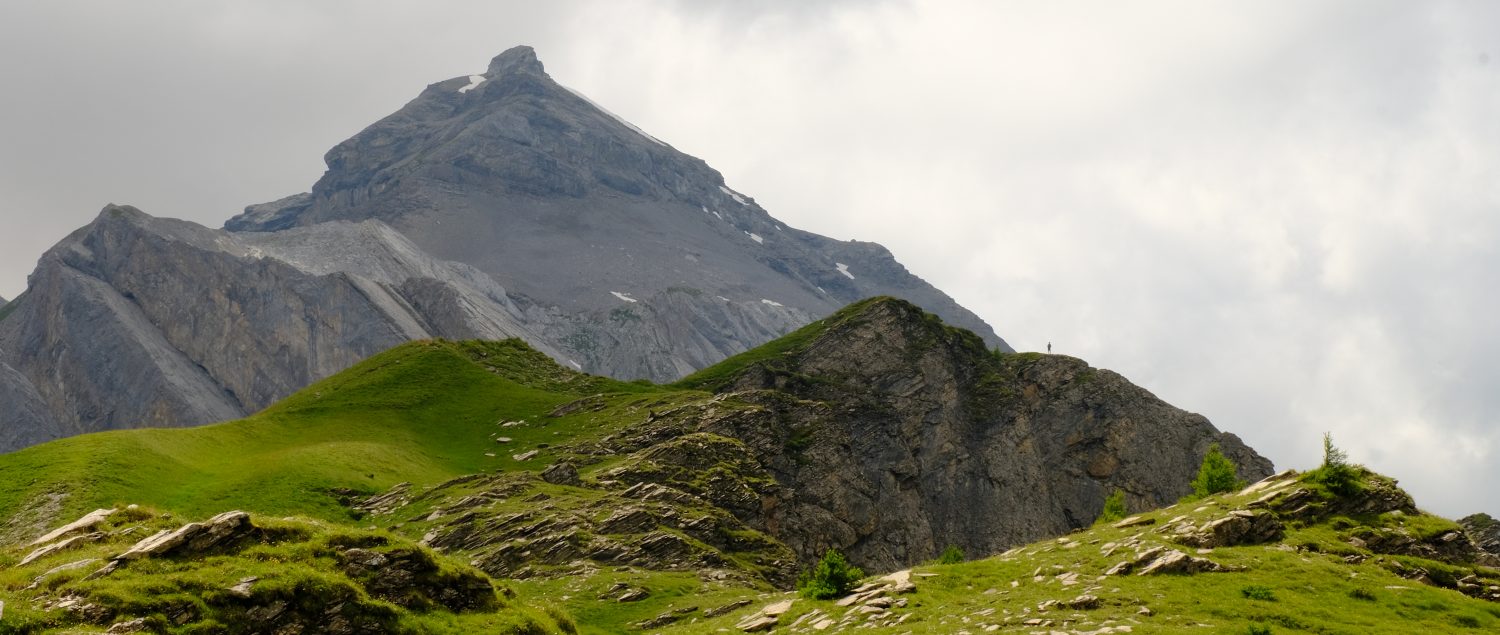
This day’s terrain is very straightforward, but it’s still a long tiring day. The reward is your first views of the stunning Pale di San Martino.

Photo Credit: Nick Haine
And the herd of gentle, golden Haflinger horses and foals.
Escape Routes
It is possible to take buses round to Passo San Pellegrino for free using the Val di Fassa E-Guest card. You need to head west to stay within the Trentino Trasporti network, changing buses in Penia and Moena (a good stop for lunch) before catching a bus up to San Pellegrino. You can check bus times on the Mio Trentino app and link your E-guest card into it too.
Look out for the next installment: Dolomites Alta Via 2: Part 2 – Passo San Pellegrino to Rifugio Treviso 11th – 15th July 2025
CAI (Club Alpino Italiano) Path Grades
https://www.cairovigo.it/classificazione-sentieri-cai/
T (tourist) Marked on Tabacco maps with an unbroken red line
Small roads, mule tracks, or easy paths, with clearly marked routes that do not pose any uncertainties or orientation problems. They generally take place below 2,000 meters and usually provide access to mountain pastures or refuges. They require some knowledge of the mountain environment and physical preparation for walking.
E (Hiking) Marked on Tabacco maps with red dashes
These almost always take place on trails or paths over varied terrain (pastures, rough ground, scree), and are usually marked. There may be short, flat or slightly sloping sections of residual snow, where, in the event of a fall, a slide can be stopped quickly and safely. They sometimes cross open, pathless terrain, but are not technical, and always have adequate markings. They may cross steep slopes; exposed sections are generally protected with barriers or cables. They may include a non-exposed rock passage, or short, non-strenuous unchallenging sections with the use of fixed equipment (e.g. ladders, rungs, cables), which, however, do not require the use of specific equipment (harness, carabiners, etc.). They require a good sense of direction, as well as experience and knowledge of mountain terrain, walking experience, and appropriate footwear and equipment.
EE (Trails for Expert Hikers) Marked on Tabacco maps with red dots
These are trails that are usually marked but require the ability to navigate in technical terrain. Trails or tracks can be on rough and / or treacherous terrain (steep and/or slippery grass slopes, or mixed rock and grass, or rock and scree). There is varied terrain at relatively high altitudes (above 2000m) e.g. scree slopes, short, gentle snowfields, open slopes without landmarks, etc. There are rocky sections with slight technical difficulties, i.e. trails with fixed equipment (e.g. ladders, rungs, cables) or less demanding via ferratas. Trails on glaciers are excluded, even if they are flat and/or appear crevasse-free (because crossing them would require the use of a rope and ice axe and knowledge of the relevant belaying techniques). Requirements are general mountain experience and a good knowledge of the Alpine environment; sure-footedness and a head for heights; adequate equipment, gear, and physical preparation.
EEA (Trails for Expert Hikers with Equipment) Marked on Tabacco maps with red crosses
These are trails with fixed equipment (e.g. ladders, rungs, cables) or via ferratas requiring the use of self-belay devices (harness, shock absorber, carabiners, lanyards) and personal protective equipment (helmet, gloves).
Please remember that outdoor activities like walking come with inherent risks. The author has endeavoured to make the information as accurate as possible at the time of writing but the decision to undertake the walk is entirely at your own risk. No responsibility can be accepted for any kind of physical injury, loss or damage to you or your property.
If you enjoyed this please enter your email address below to follow this blog and receive notifications of new posts by email.
